Time Clock Functionality
Summary
The Clock in the web application allows users to clock in and clock out, and keeps track of the hours employees are working. Here is how to clock in and out, and edit time clock entries.
Important Points:
- Clock categories are customizable. They can be edited under Admin > Preferences > Office Settings > Clock Categories.
- Access Controls > Users are used to turning on or off the ability to view and edit timesheets.
Accessing the Time Clock
To access the time clock, go to:
Clock > Time Clock using the navigation bars.
This will bring up the time clocks for all of the users working hourly.

Filtering the Time Clock
Use the available filters to limit the time clock information displayed. Filters can be shown or hidden by toggling the Show/Hide Filters options.
- Date: Sets the range of days shown.
- Employees: Limits the results to a specific user or users.
- Employee Type: Limits the results to a particular user type, i.e. Office Staff, Salespersons, Technicians.
- Employee Status: Limits the results to either active or inactive users.
- Employee Team: Limits the results to a specific team. To set up teams, go to Admin > Teams/Departments
Select Refresh when finished.

Clocking In
To clock in, select the proper Clock Category and click on the Clock In button to begin the timer.

Clocking In: Manually adding Time
When a user is selected, the window will expand and a green + button will appear to add in a manual entry.
- Date In: Record the date that the employee clocked in.
- Time in: Record the time of day that the employee clocked in.
- Date Out: Record the date that the employee clocked out.
- Time Out: Record the time of day that the employee clocked out.
- Category: Record the category of time that the employee clocked in for.
- Time: Displays the total amount of time the employee was clocked in for.
Select Insert or update when ready to save. Once clocked in, the Clock Category can be changed and a user has the option to seamlessly clock into a different status such as Paid Break or Lunch without having to fully clock out.
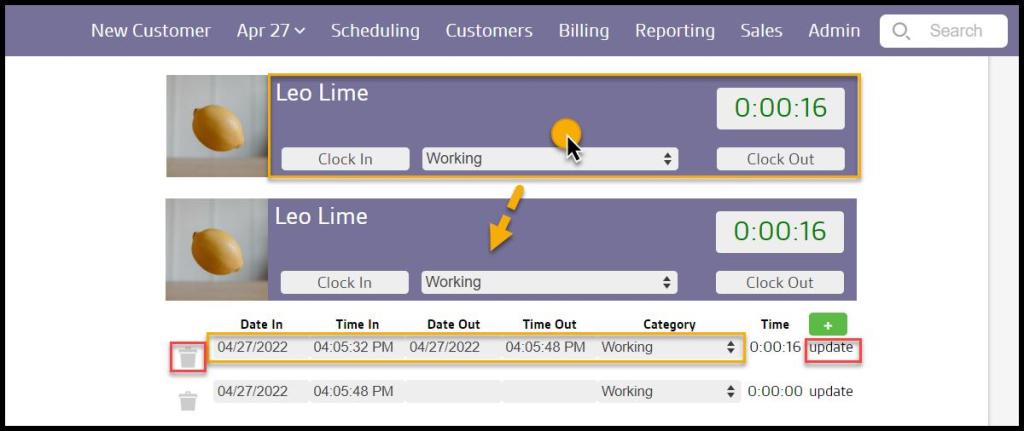
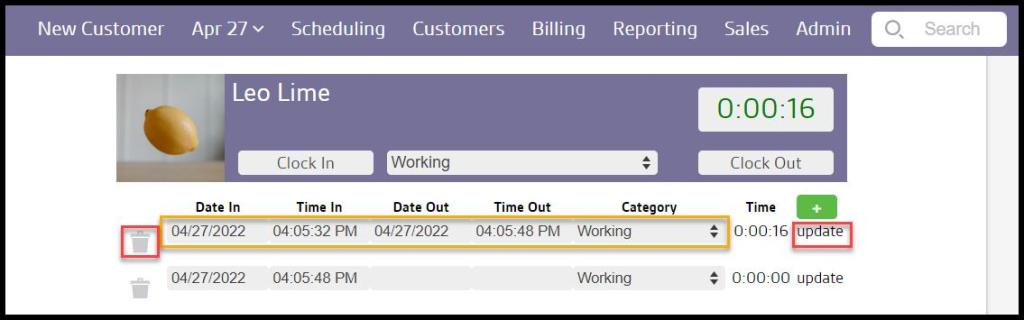
Editing Time Clock Entries
To edit an entry, change the date, time, and/or Clock Category and select Update. An entry can be removed by clicking the trashcan icon on the left. When removing or updating an entry, the hours worked will adjust accordingly.
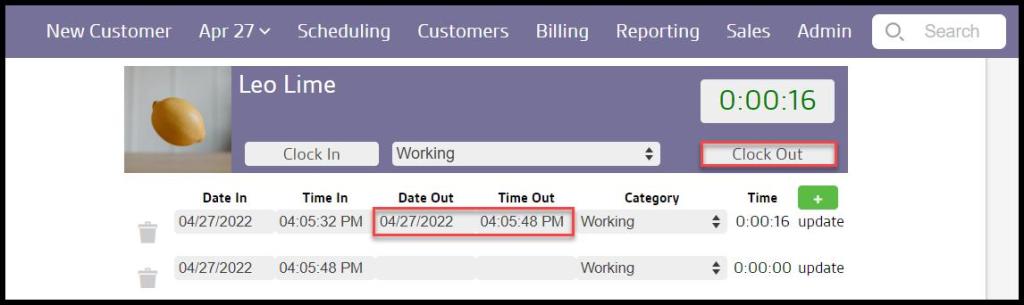
Clocking Out
The user can either hit the Clock Out button or fill in the date and time out then click on Update to clock out.
Once the clock out time has been determined, the total hours worked will appear on the time clock. Each day will show the total amount of time worked, and the time clock will continue to calculate the total amount worked for the entire week.