Prepayment Batches
Summary
Prepayment Batches allow a user to quickly search for and group Prepayments together for posting without having to open or search for individual customer cards. The functions are similar to those of Payment batches. This guide will show how to search for, add and post payments for users who have active Prepayment offers.
Go to Billing > Payment Batches and click the Prepayments button.
Search for Existing Prepayments
Expiration Date: Using the expiration date picker allows users to select a certain date range within which they know certain prepay offers expire.Clicking in the expiration date field will open up the calendar date picker. Alternatively, the Expiration Date field can be left blank if All Active Prepayment Offers is in the Prepay Offer field.
Clicking in the Expiration Date field will open up the calendar date picker. Predefined choices such as Today or This Year are available to select, or a custom date range can be chosen. Click the Apply button to confirm a selection.

Prepay Offer: This selection drop-down allows users to search All Active Prepayment Offers or specific ones. Click the refresh button when any of the inputs in the previously mentioned fields have been changed.

Adding Payments
Adding Payments within Prepayment Batches allows users to add multiple payments before collectively posting them.
Add Payments Fields
Select a Customer
- Until a customer’s name has been entered and clicked on, the remaining fields will appear blank.
- In order for a customer to be searchable and selectable they must have a Prepayment Offer.
- Customer Search – Enter the name of a customer with a pending prepay offer.
- Prepay Offer Name – this is where the name of the prepay that was created for a customer will display. If there are more than one each will be listed to select.
- Discount Type – This field is where Base or Base +Upsell can be selected.
- Active – This uneditable field displays Active if the customer is active.
- Method – Here is where the payment method can be chosen, either Cash or Check. If check then another field will be available to add a check number, which is required.
- Amount – This field will auto populate the amount of the prepayment.
- Confirm Amount – Enter the entire amount of the prepayment to be charged. If full amount is not entered (prior to clicking add) then user will receive a warning popup.
- Payment Notes – Field to add a notation regarding payment taken.

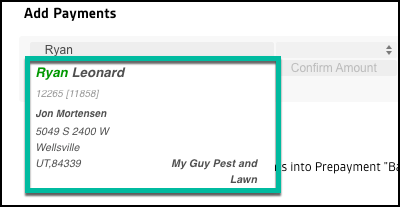
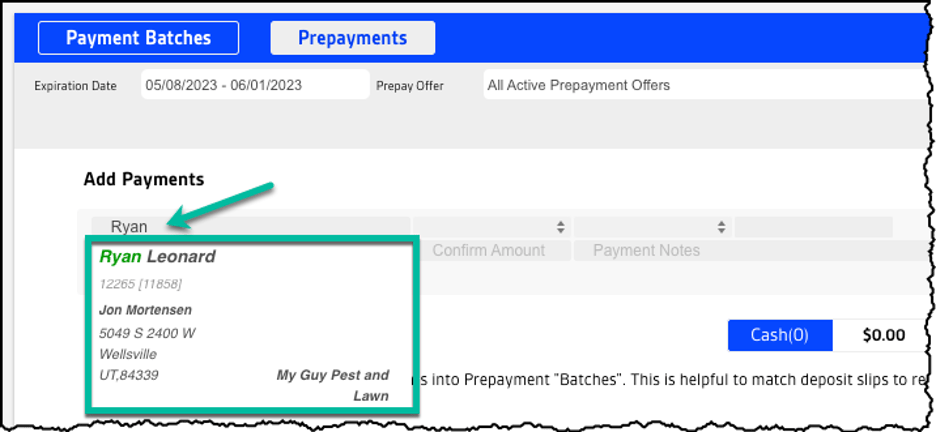
The image below shows an example of searching for a customer. As mentioned previously, after beginning to type a customer’s name in the field, the system recognizes that there is a Prepayment offer for them. Click the box with their information to load it.
The Method drop-down includes the choices of Cash or Check.
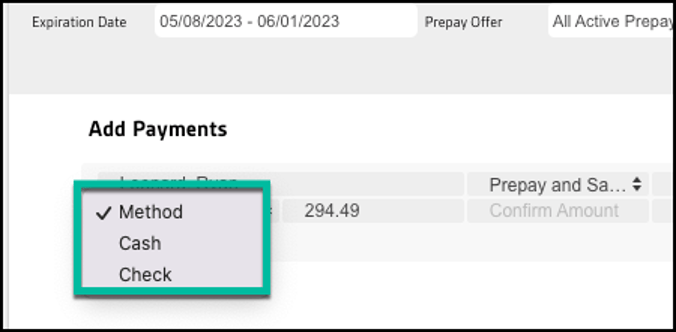
If Check is selected then another field will be available to add a check number, which is required.

Once all fields are filled, click the Add button.

Finalize and Post Payments
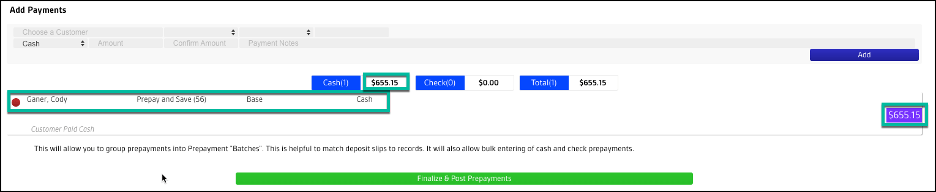
As shown in the below image, once payments are added they will sit in a holding state until the user is ready to process them. A user can add as many as they would like before finalizing and posting.
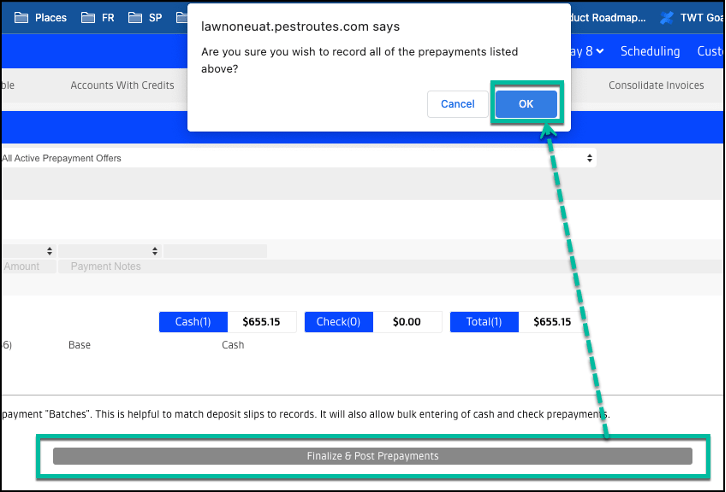
Select the Finalize & Post Prepayments button. A confirmation message will display in the browser window. Click Ok to confirm.
Reviewing Posted Payments
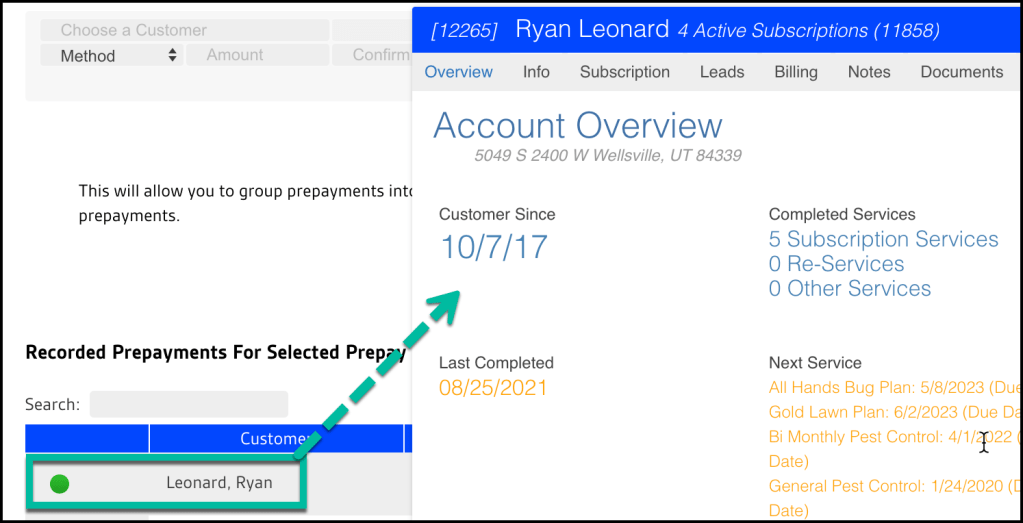
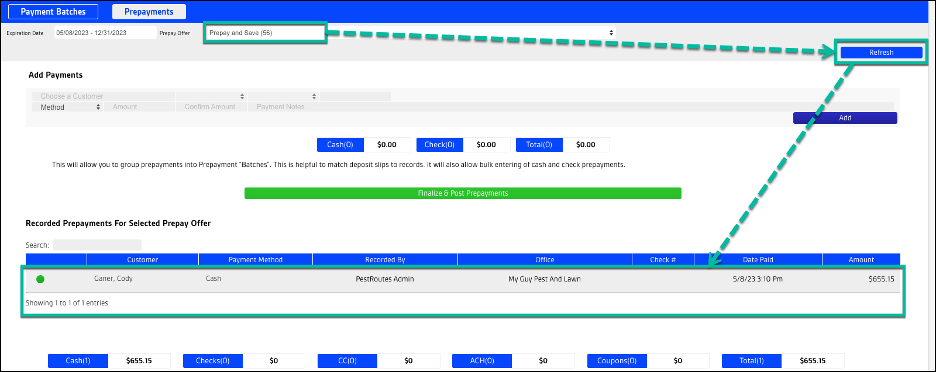
Once a payment(s) has been posted, a user can review detailed information in the Recorded Prepayments For Selected Prepay Offer section, as well as in Reporting.
In order to view posted payments a user will need to view them by Prepay Offer type. Select the offer type from the Prepay Offer field and then click the Refresh button. Details such as payment method, who entered the payment, date and amount are displayed.
Clicking on a customer’s name will open up their Customer Card.