Note Categories
Summary
This feature in Preferences allows the user to easily add and manage Note Categories. They help organize note types in the Customer Card by category.
Important Points:
- When a note is created in the Customer Card, a Note Type can be assigned to it. That Note Type can be organized by Note Category.
- A Note Category is a parent category to the Note Type.
- Please see the Note Types guide for more information on adding or editing custom Note Types.
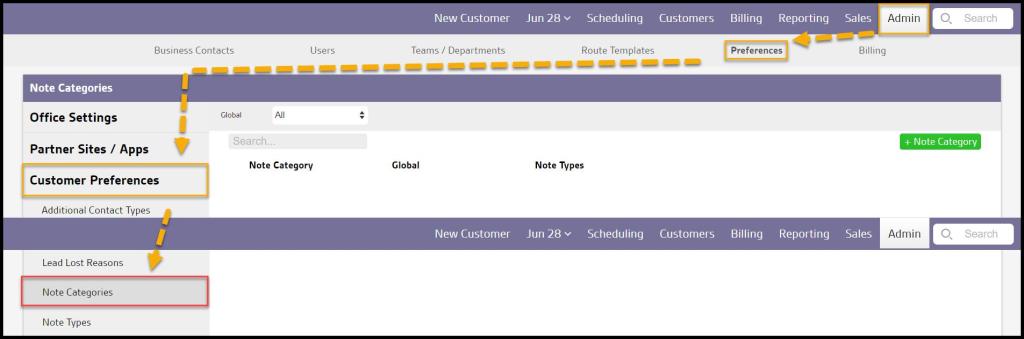
Accessing the Note Categories in Preferences
To access Note Categories, go to:
Admin > Preferences > Customer Preferences > Note Categories.
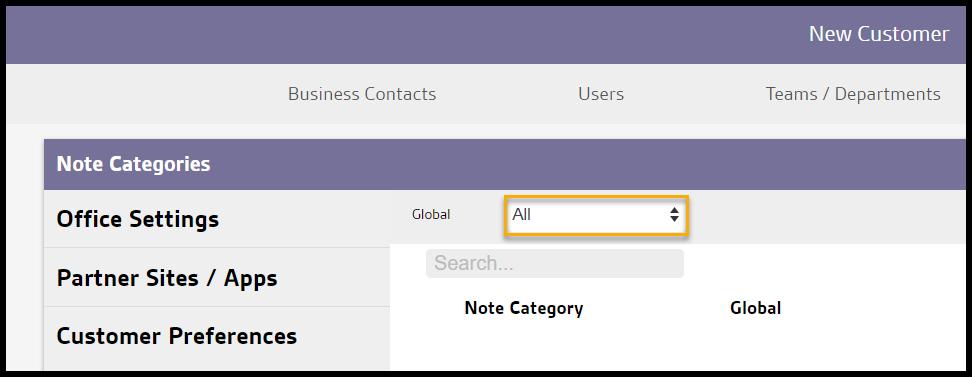
Filtering the Note Categories in Preferences
To filter the Note Categories, toggle these filters.
- Global
- All: Display all Note Categories.
- Specific to Office: Display only Note Categories flagged to be specific to the user’s office.
- Available to all offices: Display only Note Categories flagged as available to all offices.
Selecting a new option will cause the results to refresh.
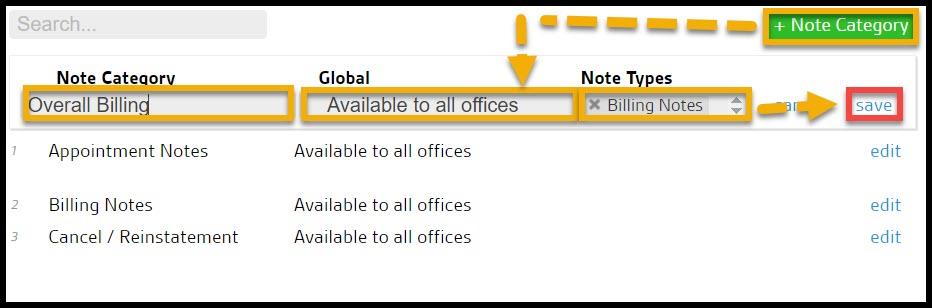
Adding or editing a Note Category in Preferences
To add a new Note Category, select + Note Category or edit to make changes to an existing Note Category.
- Note Category: Choose or change the name of the Note Category.
- Global: Flag the Note Category to show up for all offices or only specific to the user’s office(s).
- Note Types: Select specific Note Types for the category.
Select Save when finished editing the Note Category.
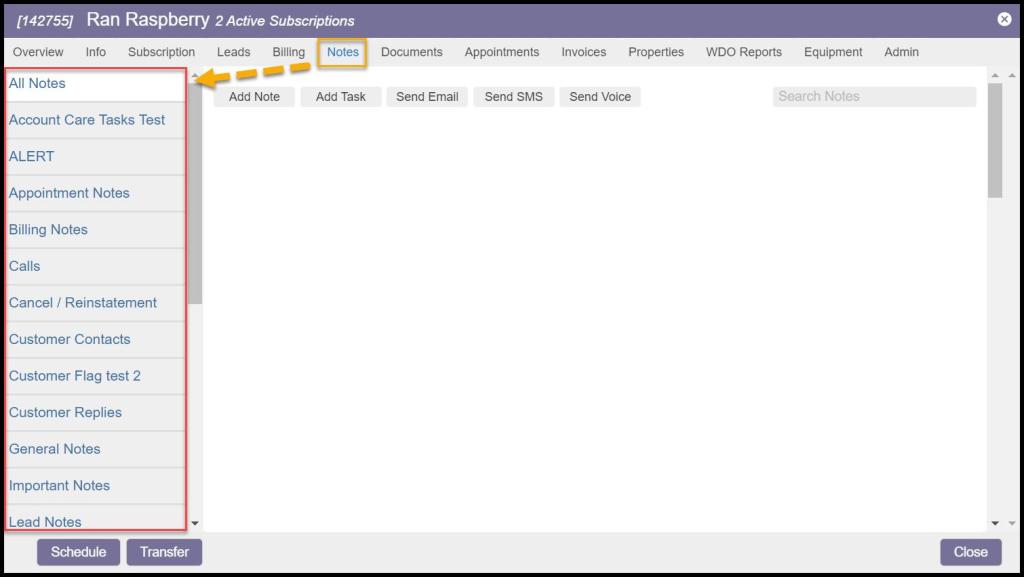
Where are Note Categories Used in the Customer Card?
Open a Customer Card, and select the “Notes” tab. The Note Categories will appear to the left.
When a new note is created in the Customer Card, the Note Type will fall into the corresponding Note Category.
Specific Note Categories can be selected to the left to view all the Note Types in the category.