How to Reschedule Appointments
Summary
Sometimes routes must be rescheduled to a different time or day. Here is how to reschedule appointments.
Important Points:
- The customer card can be selected from the same drop-down on the schedule as the reschedule option.
Accessing the Reschedule Option
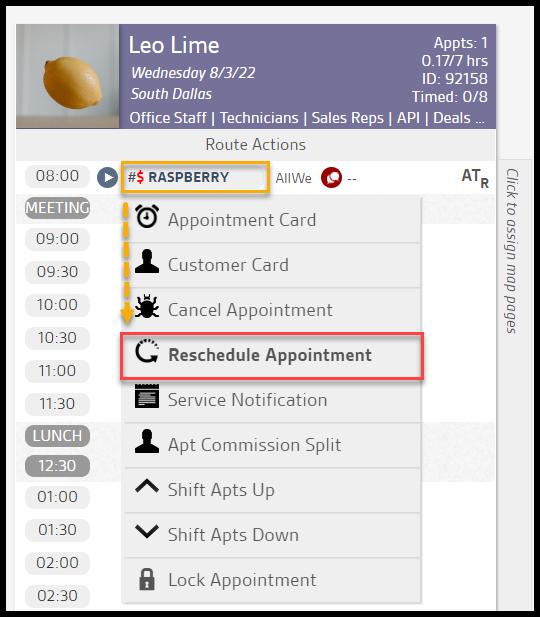
Go to the route view for the day the customer is scheduled and select the customer’s name on the route.
In the drop-down that appears, there are several actions. To reschedule the appointment, select Reschedule Appointment.
Using Recommended Routes
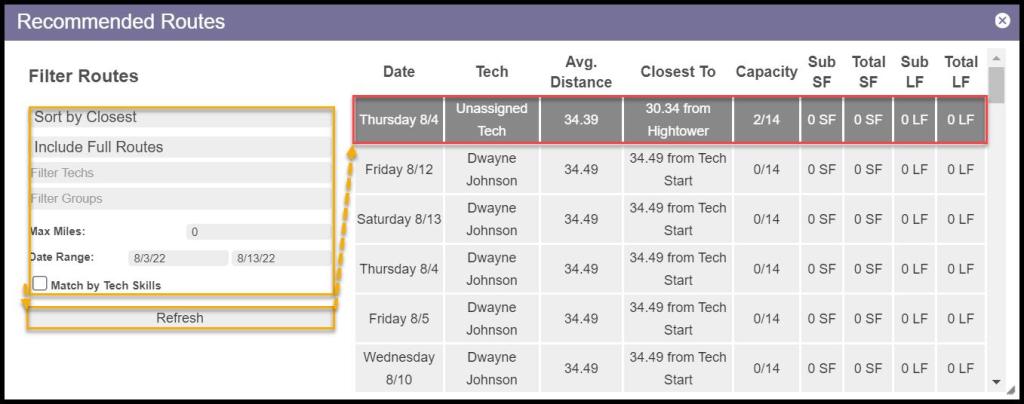
Once Reschedule Appointment is selected, the Recommended Routes window will appear.
Filter Routes
- Sort by: Sort by the closest routes or the soonest routes.
- Include: Include Full groups or limit to non-filled groups.
- Filter Techs: Limit available routes by the technician.
- Filter Groups: Limit available routes by route group.
- Max Miles: Limit available routes by distance.
- Date Range: Limit available routes by date range.
- Match by Tech Skills: Limit available routes to technicians with matching skills
Select Refresh to refresh the Recommended Routes. Select a route to go
Rescheduling a Customer’s Appointment
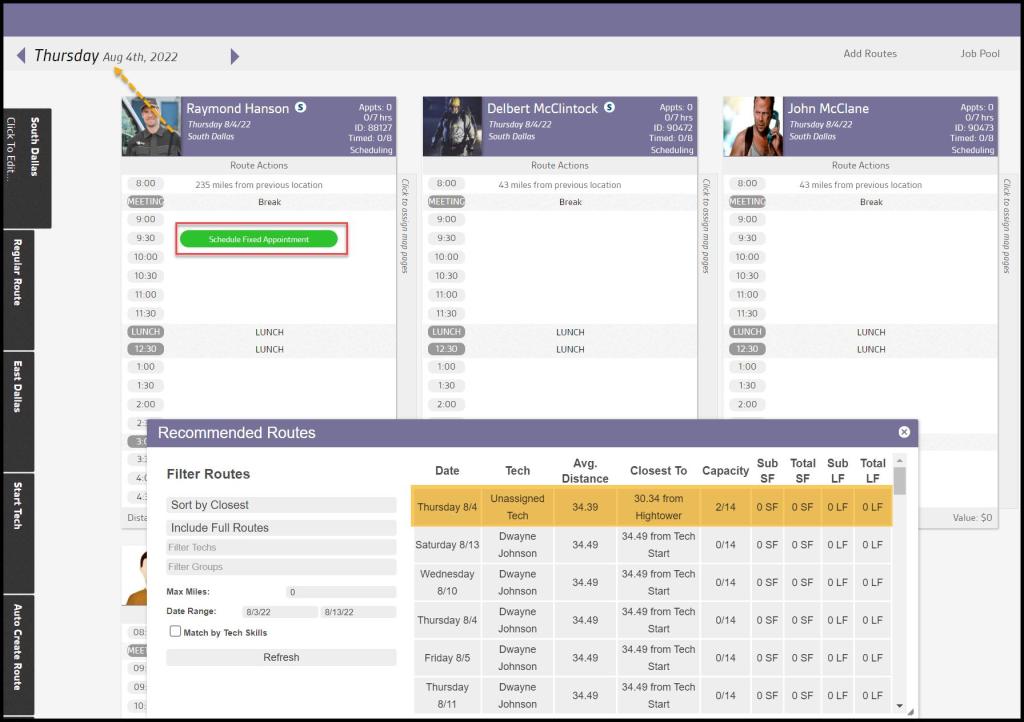
When the user selects a route on the Recommended Routes window, it will take the user to the route view for that day. From there, choose an open spot on the route to schedule the customer’s appointment.
Once the user selects a route via the Recommended Routes window, hover the mouse over an open slot on the desired route, and the user will see an option to Schedule Fixed Appointment.
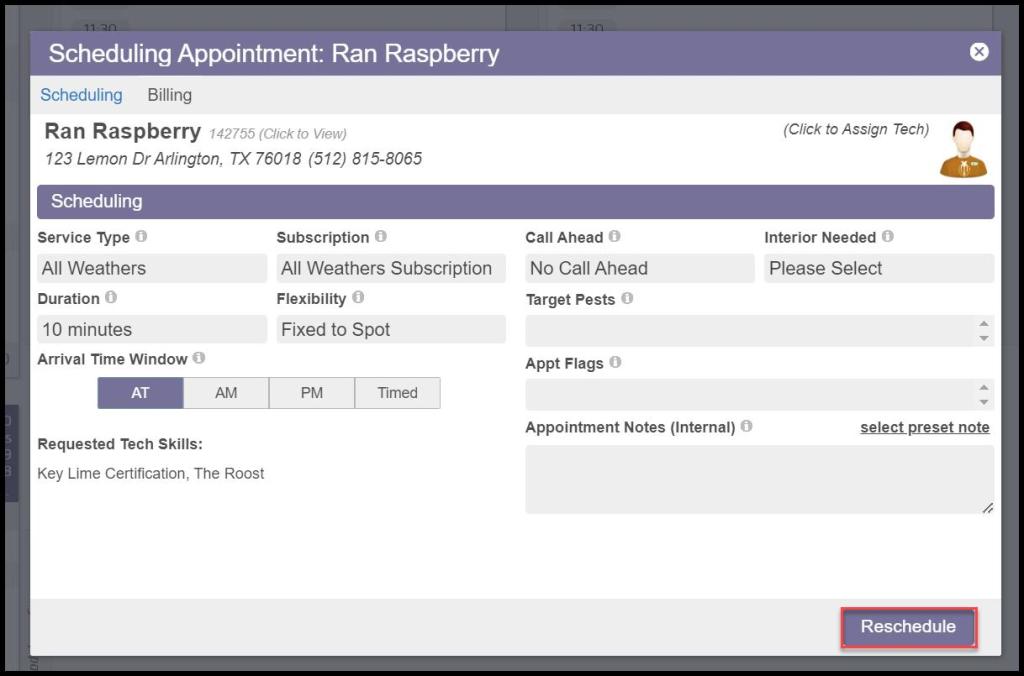
Select the slot, and the Appointment Card will appear, allowing the user to reschedule the appointment.
Once the Appointment Card appears, the user can edit the appointment details if necessary.
Please see the guide on The Appointment Card for more information about the options available here.
Once the user selects Reschedule, the software will schedule the customer’s appointment on the new route.
Using the Reschedule Appointment Modal
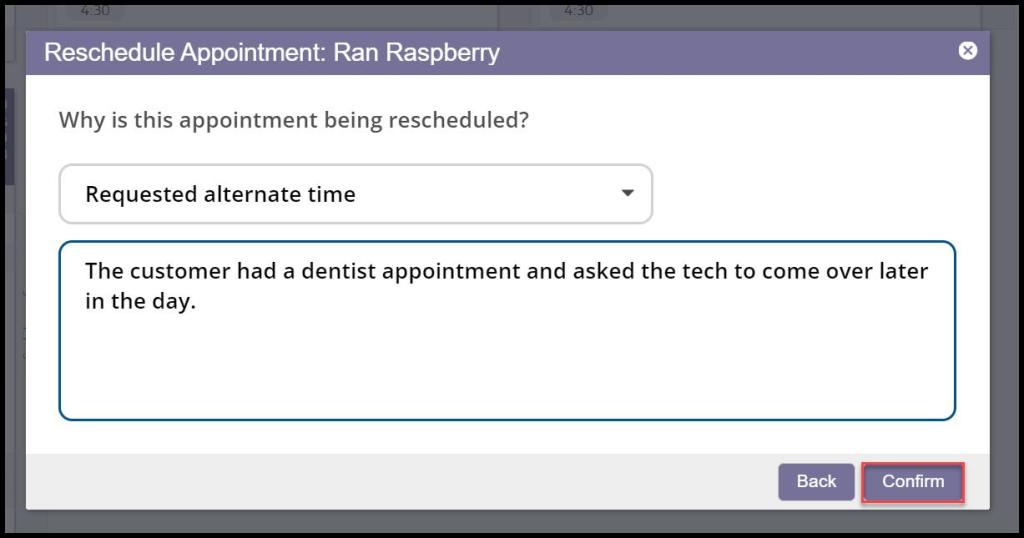
Once Reschedule is selected, a Reschedule Appointment window will appear. It has two options.
- Appointment Reschedule Reason: Choose the category for why the customer rescheduled their appointment. See the Appointment Reschedule Reason guide for more details on these reasons.
- Appointment Reschedule Notes: This field will leave a Reschedule Note in the customer’s card with additional notes on why the customer canceled.
Select Confirm to reschedule the appointment when finished.
Where does the canceled appointment go?
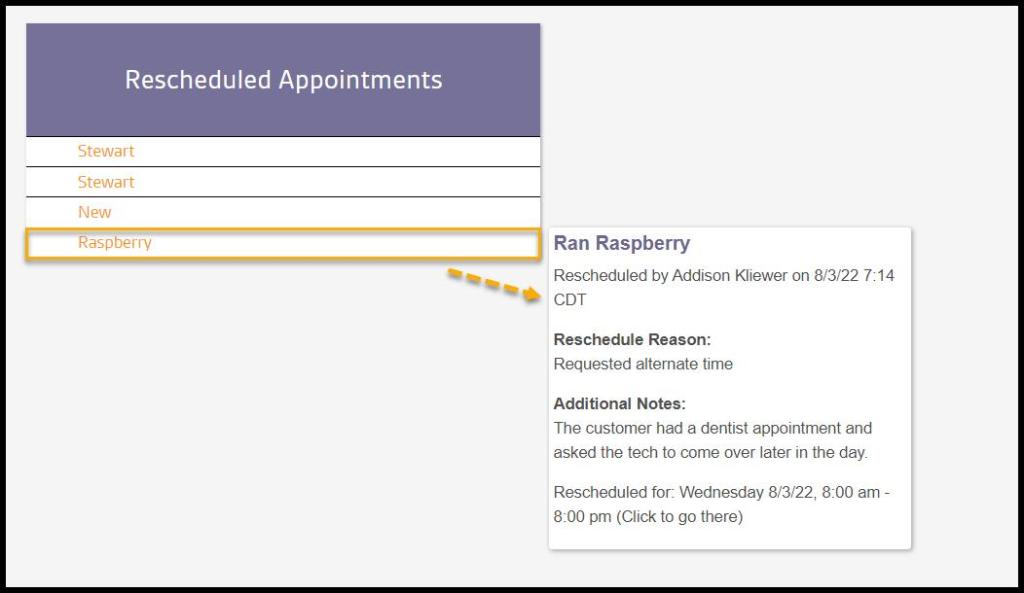
The rescheduled appointment will go under the route called Rescheduled Appointments. Hovering over the customer will show the following details:
- Cancellation Reason: Displays the category for why the customer canceled their appointment. See the Appointment Cancellation Reason guide for more details on these reasons.
- Additional Notes: This will show any additional details the user entered when canceling the appointment.
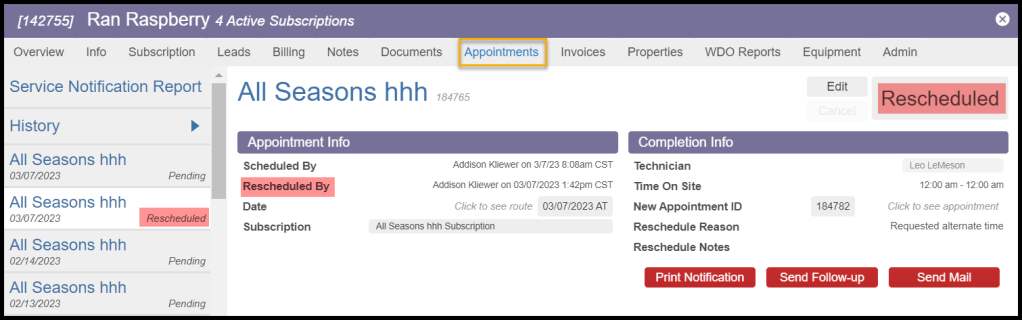
How do I know a customer’s appointment has been rescheduled?
One way to tell if an appointment has been rescheduled is with the Customer Card. Go to:
Select Customer Card from the dropdown menu on the appointment > Appointments > Choose the rescheduled appointment > Appointment Info > Rescheduled By.
If an appointment has been rescheduled, it will say Rescheduled by (the user’s name).