Creating a Route Template
Summary
Standardizing routes is one of the biggest parts of efficient schedules. Using the Route Template preference standardizes and simplifies daily route details. These details include the Start and End Times, Time Intervals, and standard lunch and break times. They also include which users have permission to schedule the routes.
Important Points:
- Use military time when creating Route Templates.
- Schedule routes for 59 minutes to avoid overbooking.
- The Break is the default Block Description for blocked time intervals if the Block Description field is left blank.
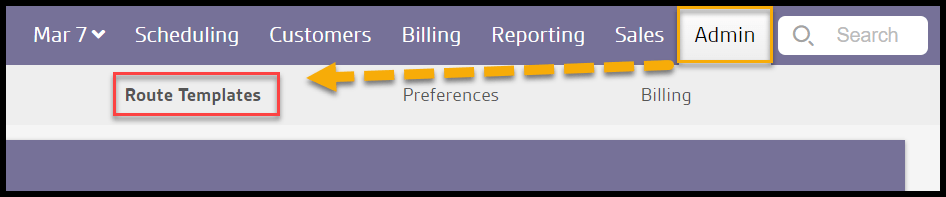
Accessing the Route Templates
To access the Route Templates, go to:
Admin > Route Templates.
Adding or Editing the Route Templates
Choosing a Route Template from the list will display its settings. Those settings will determine how the list of the time intervals shows up.
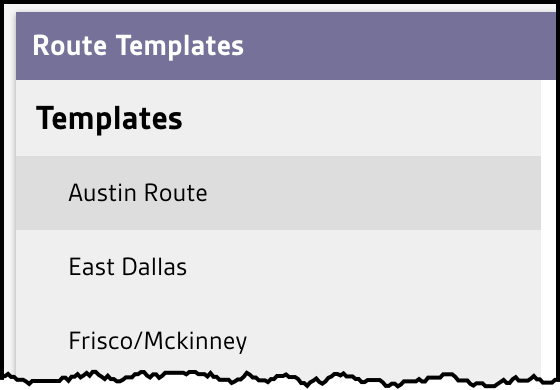
Edit and update any setting followed by Save Template. Completely remove the template by selecting Delete Template.
Creating a New Route Template
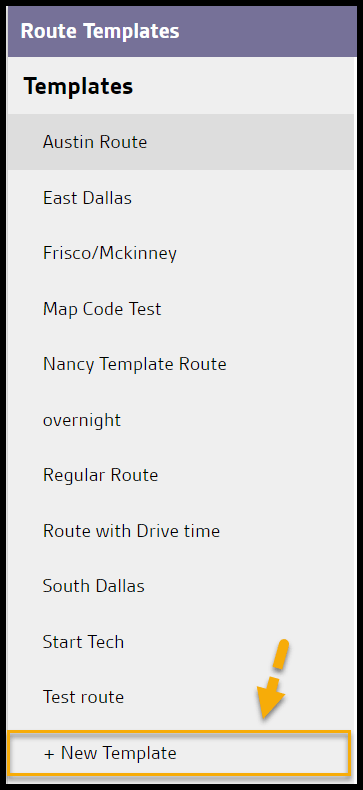
To create a new template, select the + New Template option.
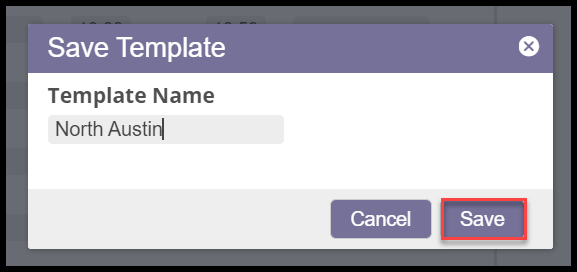
A request to name the template appears, and a new blank template is created after providing a name and clicking Save.
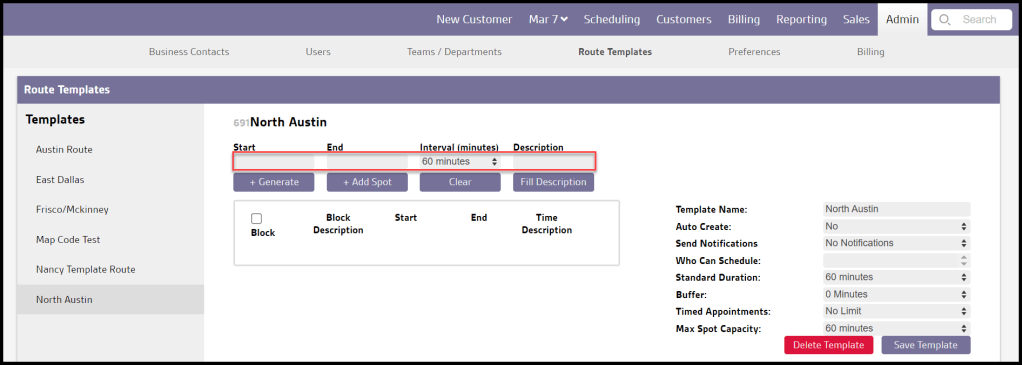
Notice that the Route Template has no time intervals at this point. First, the following parameters must be provided:
- Start and End: Designate the start and end of the desired workday or shift.
- NOTE: When the technician arrives at the service site, NOT when the service starts or ends.
- NOTE: Times must be in 24-hr military style, such as 17:00 to designate 5:00 pm.
- Interval (minutes): This will determine the length of each time slot on the template. The best practice is to use the company’s standard appointment duration, such as 30 minutes.
- Description: Adding an optional description here to the time block.
- + Generate: Remove all existing time blocks and replace them with new ones (or create new intervals for the first time).
- + Add Spot: Add a time block instead of a full shift.
- Clear: Clear the route and remove all of the time blocks.
- Fill Description: Add the description to the Time Description field for each generated time interval.
Additional Route Template Settings
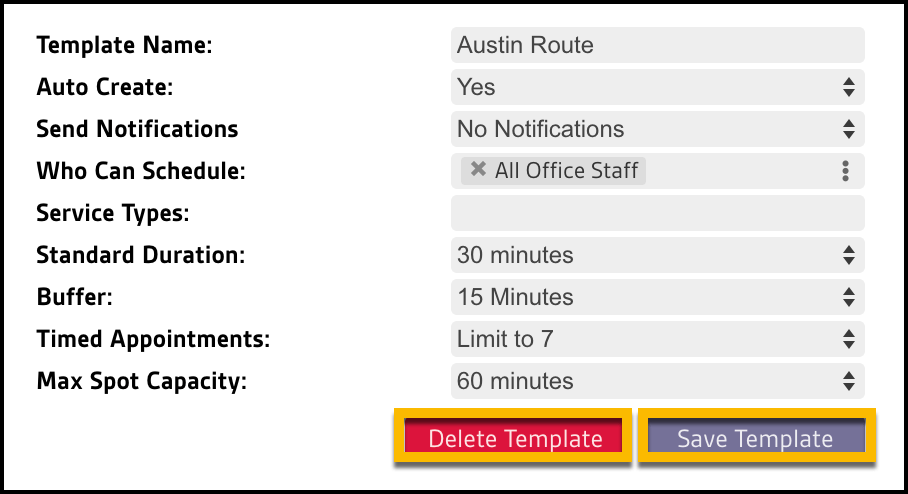
Complete the desired settings for this template in the additional setting fields:
- Template Name: The name of the route template.
- Auto Create: Default = No, Yes automatically generates the Route each day and creates a new group for the Route.
- Send Notifications: Default = No, Yes sends out notifications to sales users every time a spot fills up on the Route (generally only used for start routes).
- Who Can Schedule: Which user/group can schedule appointments on the Route.
- Standard Duration: The expected length of appointments for this Route. This is the estimated duration of a technician’s arrival, not the time a service starts and ends.
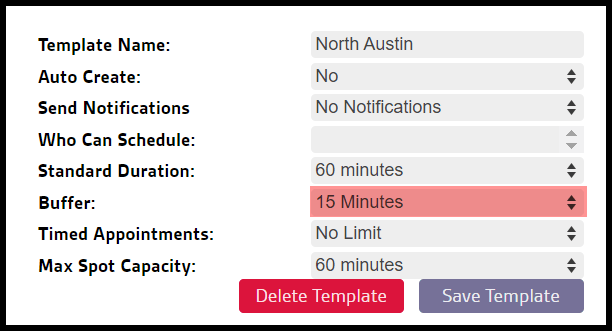
- Buffer: See What is The Buffer on Route Templates section below for a detailed explanation of the Buffer. The buffer is the additional time within the interval that accounts for technician travel.
- Timed Appointments: Designates the maximum number of timed appointments allowed for the Route (appointments not set as AT). Any timed appointments over this amount will be overbooked.
- Max Spot Capacity: The maximum time interval allowed by the scheduling tool for a technician to provide service at a single location
Once edits are complete, select Save Template.

Adding Blocked Time Intervals
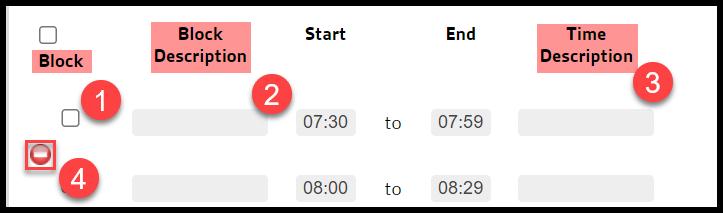
Select the checkbox to the left of the desired Block Description field(s) to block out time intervals on the Route by default. This blocks the designated timeslot for meetings, breaks, or lunch periods. The settings function as follows:
- Block: Shields the designated time interval and requires both automated and manual schedulers to work around the slot.
- Block Description: Appears in the Interval Description area on the Route where appointment details would otherwise appear. The Block Description overrides the default spot label for individual spots on a route. Spot times will display in that area by default. A description can be added once the checkbox is clicked.
- Time Description: Text placed in this field overwrites the Time Block at the beginning of a time interval. When the text exceeds a certain number of characters, the first few characters of the text appear in the Time Block, but the entire Time Description reveals on hover.
- Red Button: Selecting the red button removes the associated time interval from the list. The red icon allows the user to delete a time spot, and to move a spot to a different place, click on “to” then drag and drop the spot.
Select Save Template to save any changes.
Blocked Time Appearance in Daily Scheduling
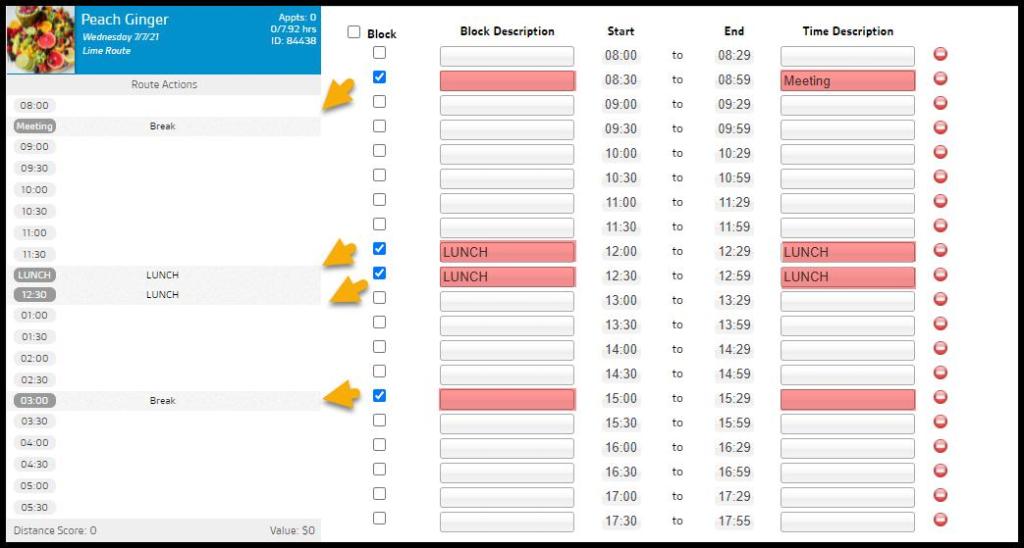
The Blocked Time settings on the template above are reflected in the route-building tools as seen below. The four different blocked-time scenarios above result in the following appearance details:
- A blank Block Description and “Meeting” in Time Description = “Meeting” text overwrites the Time, and the blank Block Description defaults to “Break” in the Block.
- “LUNCH” in the Block Description and “LUNCH” in the Time Description = “LUNCH” overwrites the Time and also appears in the Block.
- “LUNCH” in the Block Description and a blank Time Description = the normal Time remains intact, and “LUNCH” appears in the Block.
- The Block is checked for the 15:00 hour, but both Block Description and Time Description are blank = the normal Time remains, and the Block defaults to “Break.”
What is the Buffer on the Route Template?
Using the Buffer is only recommended on routes intended for Initial Appointments. For example, some companies create a template only filled with initial appointments. This allows typical daily service appointments to be scheduled more efficiently.
A Buffer provides more time to the technician between appointments within a time window for less predictable service times. It takes the length of the time window and appointment duration into consideration.
When a customer’s initial thirty-minute appointment falls within a two-hour time window, there is potential for other new Initial Appointments to fill up the remainder of the period. If that time is used up, the technician may not have enough flexibility if an appointment takes longer than scheduled or is delayed in traffic.
The Buffer gives designated extra time in the appointment schedule. This allows for unexpected delays.
For example, a two-hour time window with a one-hour Buffer makes one extra hour within the time window available to the technician, while a sales team only has one hour of appointments available during this interval.
NOTE:
The time slots in the Routes Template feature are the estimated time of a technician’s arrival, not the time a service starts and ends. For example, if there is a buffer of 60 min and a standard interval for each route is 60 minutes and starts at 7:00. It will be considered that the time the technician arrives at a customer’s property is from 7:00 to 9:00